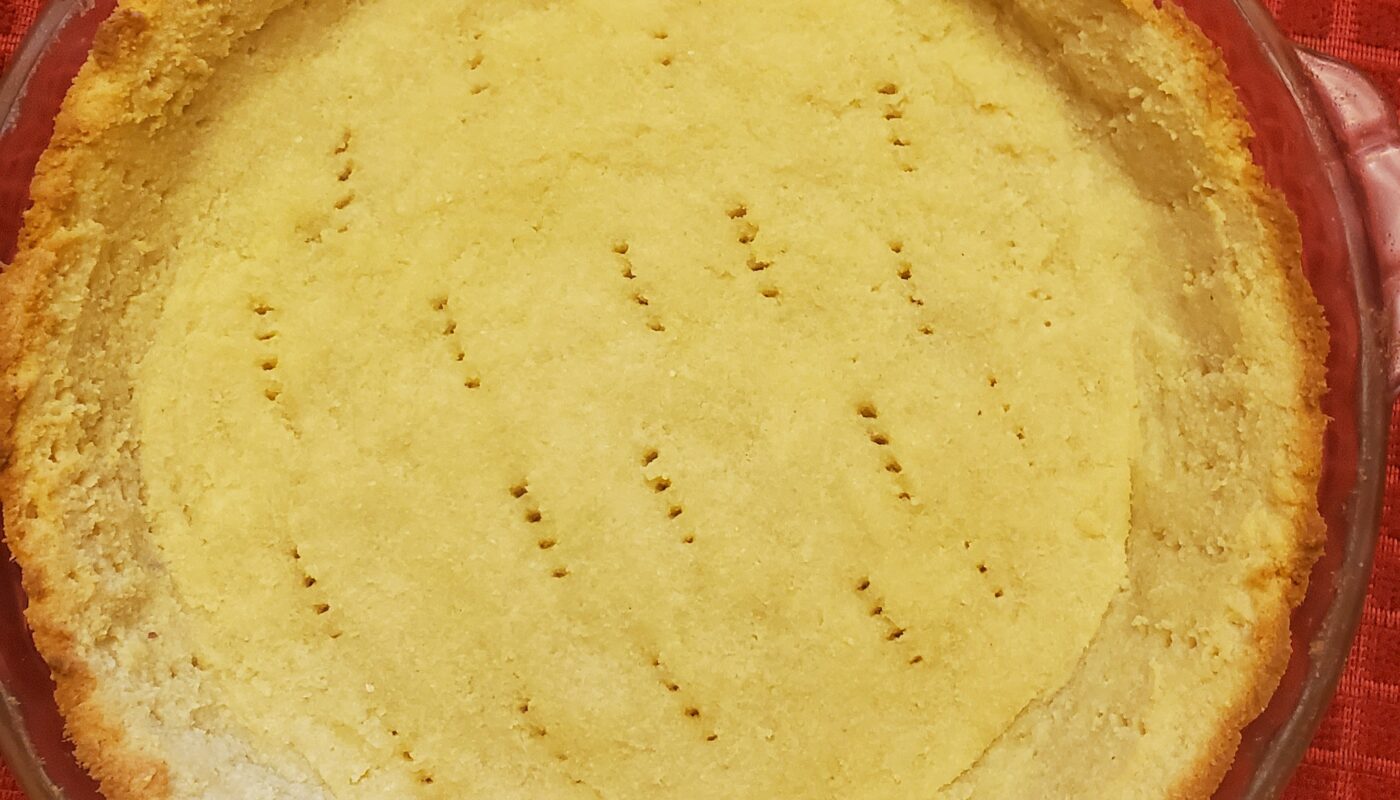
Are you still searching for the perfect gluten free pie crust? This one would be a perfect match for whatever you’re baking, whether it is a savory pie like a chicken pot pie or a quiche, or your favorite fruit or custard-style pie. The crust is flaky, buttery, and so each to make.
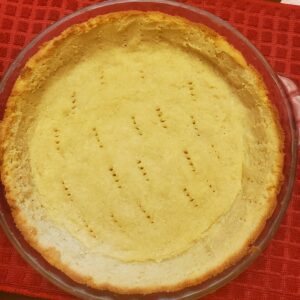
Homemade Gluten Free Pie Crust
This Homemade Gluten Free Pie Crust is flaky, has a delicious buttery taste, is easy to make, and can be used to make many of your favorite pies. Use this crust to make savory pies such as pot pies and quiches, and also use it to make your favorite fruit or custard-style pies. The flour blend used in this recipe has xanthan gum included within it. Gluten-free flour reportedly also is a great alternative for those who suffer with celiac disease. This recipe makes two (2) 9-inch crusts, or a double-crust pie.
As an Amazon Associate I earn from qualifying purchases, which means that I make a small commission off items that you purchase at no additional cost to you. Please see my full disclosure Privacy Policy for details.
Useful Kitchen Equipment for Creating Your Masterpiece:


Ingredients
- 2 Cups Gluten-Free All-Purpose Flour
- 1 Tblsp Monk Fruit Allulose Blend Sugar
- ½ tsp Sea Salt
- 1 Tblsp + 1 tsp Baking Powder see notes
- 2 Egg Yolks
- 1 Cup Unsalted Butter cold
- ⅓ Cup Ice Water divided
Instructions
- Cube or slice the butter and place it into a freezer-safe container or bowl. Place the container into the freezer for 15 minutes before starting. (The butter should be very cold but not frozen.)
- Whisk the egg yolks with 3 tablespoons of the ice-cold water. Place the mixture in the fridge until ready.
- Whisk the flour, sugar, baking powder, and salt together.
- Remove the cold cubed butter from the freezer and add it into the flour mixture, then toss to coat.
- Using either a Pastry Cutter or a Stand Mixer, cut the butter cubes into the flour mixture, making sure to keep the butter coated in flour while you work it in.
- Keep working until the butter resembles large chunks mixed with smaller pieces. The large chunks should be about the size of walnut halves.
- Take the egg yolk/water mixture out of the fridge and pour it into the flour mixture.
- Stir together with a spatula or on low speed with your stand mixer until just combined.
- Add 1 Tablespoon more of ice water at a time and mix just until the mixture holds together or looks like it could. The dough should be just moistened, without visibly dry parts of flour. It should also not be over wet or sticky.
- Cut the dough mixture in half and form them info two balls. Wrap each half tightly with plastic wrap. Refrigerate for at least 30 minutes.
Rolling Out the Dough
- Roll out your silicon non-stick pastry mat and sprinkle it with flour. Also flour the rolling pin.
- Take one ball of dough out of the fridge and roll it out. Move the dough around to ensure it isn’t sticking to the silicon pastry mat while you’re rolling it out. If it starts to stick, sprinkle a little more flour underneath the dough.
- Continue to roll the dough until it is large enough to fit your pie plate with at least 1-inch of overhang.
- Fold the dough in half, then in half again. Gently place the dough with the corner in the center of your pie plate.
- Carefully unfold the dough and gently press it into the corners of the plan ensuring there are no air pockets.
- Patch any areas that may need to be patched. Trim the excess off the edges so there is about 1-inch overhang.
- Fill the pie. Roll out the other half of the dough and place it on top.
- Crimp the edges as desired.
Par-baking the Crust
- Using a fork, poke holes in the bottom and all around the sides of the crust.
- Place parchment paper on top of the crust and fill with pie weights or dried beans. Fill all the way up the sides of the crust.
- Bake at 425-F, on the lowest rack of the oven for about 10-15 minutes, or until the crust becomes a very light golden brown.
- Remove the pie weights and the parchment paper.
- Return to the oven for a few more minutes and bake until the bottom, where the pie weights were, appears dry.
- Finally, fill the crust with filling and bake according to your recipe.
Fully Baking the Crust
- Follow the steps above to bake with pie weights.
- After removing the pie weights and parchment paper, bake the crust an additional 5-10 minutes or until the crust is golden brown and cooked through.
Baking a Filled Pie
- Bake the filled pie at 425-F for 15 minutes.
- Reduce the oven temperature to 375-F and bake for an additional 45-60 minutes, or until the filling is bubbling, the fruit is tender, and the crust is a deep golden brown.
Chef’s Notes
1. The recipe can be halved for a single-crust pie, or even doubled to make a larger family-sized pie in a 9 x 13 inch dish.
2. Gluten-Free Flour Blends: There are a few great and highly recommended gluten-free all-purpose flour blends that will work with this recipe, and we’ve tried several; This one just happens to be our favorite.
3. Baking Powder Recommendation: Because we are using gluten-free flour, it is recommended that you use two (2) teaspoons of baking powder per cup of gluten-free flour to ensure proper leavening of the dough.
4. Keep everything extra COLD at all times from blending ingredients all the way through the rolling process. Chill the pie before baking if the dough gets warm.
5. Avoid sticking: Make sure to keep the surface floured while you’re rolling out the dough. Check it frequently and add another sprinkle of flour if necessary.
6. If your dough completely falls apart when trying to put it into the pie plate, it was probably too warm. Gather everything up back into a ball. Wrap it up and pop it back in the fridge for 30 minutes. Try again when it’s cold.
7. Cover with foil: Cover the edges with foil as soon as the crust is set and light golden brown to prevent the crust from becoming too brown.
8. Tightly wrapped dough can be refrigerated 1-3 days or frozen for later use.
Nutrition
Serving: 1SliceCalories: 77kcal
Tried this recipe?Mention @wholesomeketolifestyle or tag #wholesomeketolifestyle!